Bench Press Form: The 5 Common Mistakes (and How to Fix Them)
Bench Press Form Mistakes: The 5 Common Mistakes (and How to Fix Them)
Getting bench press form right matters more than the number on the bar. The bench is the most popular lift in every gym — and the most butchered. Bad form doesn’t just stall your progress; it chews up shoulders and, in the worst case, puts a loaded barbell on your throat. This guide covers the proper setup step by step, the five bench press form mistakes that plague nearly every beginner, and how to bench safely when you’re training alone.
Disclaimer: General information only. If you have shoulder issues, learn under a qualified coach. Never bench heavy without safety arms or a spotter.
The Setup: 7 Steps Before the Bar Moves
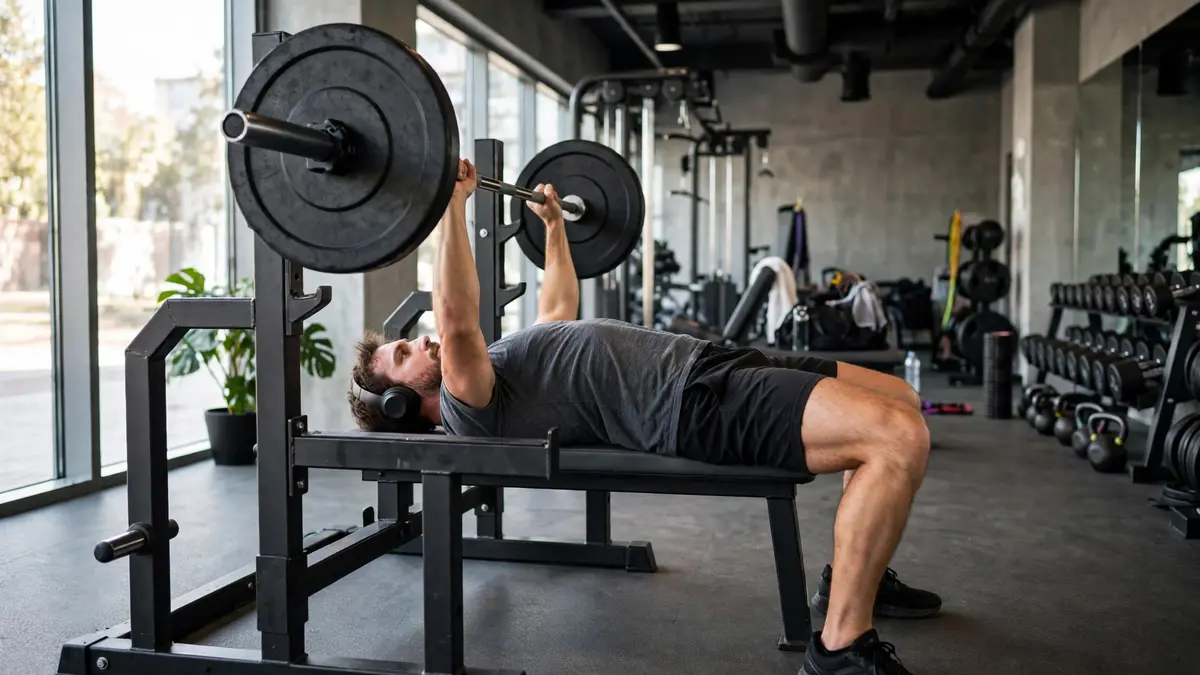
A good bench press is built before you unrack — and most bench press form mistakes start here, in the setup, before the bar even moves. Run this checklist every set:
- Eye position: lie on the bench with your eyes directly under the bar. Too far forward and you’ll hit the uprights unracking; too far back and the unrack becomes a shoulder workout.
- Feet planted: feet flat on the floor, roughly under your knees, driving into the ground. Leg drive is real — your legs brace your whole body against the bench. Feet on the bench or dangling is for Instagram, not for lifting.
- The arch: create a natural arch in your upper back by squeezing your shoulder blades together and down, as if pinching a coin between them. Your backside stays on the bench; the arch comes from the thoracic spine, not from bridging your hips. A moderate arch shortens the bar’s range of motion and puts your shoulders in a safer position.
- Grip width: for most men, index fingers on or just inside the knurling rings (about 1.5× shoulder width). Too wide stresses the shoulders; too narrow turns it into a triceps exercise. Your forearms should be roughly vertical at the bottom of the rep.
- Grip the bar properly: full grip — thumb wrapped around the bar. The thumbless “suicide grip” has dropped bars on chests and throats; there’s no benefit worth that risk. Squeeze hard — grip tension radiates up the arm and stabilises the shoulder.
- Unrack with straight arms: lift the bar out and bring it over your shoulders (not your face) before starting. The bar should start over your shoulder joints.
- Breathe and brace: big breath into your belly, brace your abs, and maintain that brace for the rep. Exhale at the top or between reps — never during the hardest part of the press.
Mistake 1: Flaring Your Elbows to 90 Degrees
What it looks like: elbows pointing straight out to the sides, upper arms perpendicular to the torso at the bottom of the rep — the classic “T” shape.
Why it’s bad: this position puts the shoulder in maximal internal rotation under load — the exact mechanism behind bench-press shoulder injuries (impingement, pec strains, rotator cuff irritation). It also bleeds pressing power; flared elbows are a weak position.
The fix: tuck your elbows to roughly 45–60 degrees from your torso — think “armpits at 2 o’clock and 10 o’clock” rather than 3 and 9. Cue: “bend the bar” — try to bend the barbell in half with your hands. That external rotation tucks the elbows and engages the lats, which stabilise the press. Your upper arms should form an arrow shape (➶) with your torso, not a T.
The test: film from the front. If your elbows disappear behind the bar at the bottom, they’re flaring. If they stay slightly in front of the bar, you’re tucked correctly.
Mistake 2: Bouncing the Bar Off Your Chest
What it looks like: the bar crashes down and rebounds off the sternum like a trampoline, launching into the press with momentum.
Why it’s bad: three reasons. It unloads the chest at the bottom (the hardest, most productive part of the rep), it risks bruising or cracking the sternum under heavy loads, and the rebound masks weakness — you’re not pressing the weight, you’re bouncing it. Competition bench presses require a paused touch; there’s a reason.
The fix: touch your chest lightly — the bar should kiss the sternum, not crash into it — pause for a half-second, then press. Think “touch, don’t bounce.” Start by pausing every rep for a full second; once the pause is automatic, a brief touch-and-go with control is fine for training.
Programming note: paused benches (2-second pause on the chest) build starting strength off the chest, where most benches fail. Add 3×5 paused reps as your second pressing movement for a month.
Mistake 3: No Leg Drive (Benching Like a Dead Fish)
What it looks like: feet flat but passive, legs relaxed, all the work happening from the neck down. Or worse — feet on the bench, legs dangling, body unstable.
Why it’s bad: leg drive isn’t about pushing the bar up with your legs (that’s not how physics works here) — it’s about creating total-body tension and driving your upper back into the bench. That tightness stabilises the shoulder girdle and lets your chest, shoulders, and triceps press from a solid platform instead of a wobbly one. Lifters who learn leg drive typically add 5–10% to their bench within weeks, purely from improved stability.
The fix: before unracking, drive your feet into the floor and push your body slightly up the bench (toward your head) — you’ll feel your upper back dig in and your arch set. Maintain that pressure throughout the set: think “push the floor away from you” during the press.
Common confusion: leg drive is not bridging your hips off the bench. Your backside stays in contact; the drive goes horizontally into the bench, not vertically into the air.
Mistake 4: The Bar Path Goes Straight Up and Down
What it looks like: the bar travels in a vertical line from chest to lockout — which feels natural but is mechanically wrong.
Why it’s bad: a straight vertical path forces the bar to travel around your face on the way down and creates an inefficient pressing angle. The strongest, safest bar path is a slight diagonal: touch lower on the chest (around the sternum/nipple line), then press up and slightly back toward the shoulders, finishing over the shoulder joints. This “J-curve” keeps the bar over the elbows’ power line and reduces shoulder strain.
The fix: think “touch low, press back.” The touch point is lower than beginners expect — not up near the collarbones (that’s a shoulder-destroyer) but at the lower chest/upper ab area. From there, press the bar up and back toward the rack. Film from the side: you should see a gentle diagonal, not a vertical line and not a big arc.
Related fault: pressing toward your feet (bar drifting forward at lockout). This happens when the touch point is too high. Fix the touch point and the path usually fixes itself.
Mistake 5: Lifting Your Head / Losing Upper-Back Tightness
What it looks like: head craning up to watch the bar, shoulder blades coming unpinched mid-set, upper back flattening against the bench as the set grinds on.
Why it’s bad: the retracted shoulder blades are what protect your shoulders and create the stable platform. When they come undone — usually from fatigue or craning to check the bar — the shoulders roll forward into the vulnerable position, the arch collapses, and the remaining reps are both weaker and riskier. Head lifting also tenses the neck unnecessarily and shifts focus from pressing to watching.
The fix: pick a spot on the ceiling and stare at it for the whole set — your job is pressing, not navigating. Before each set, re-pinch the shoulder blades hard (“put them in your back pockets”) and maintain that squeeze. If you can’t maintain it, the set is over — rack the bar. Grinding reps with collapsed form is how shoulders get hurt and plateaus get built.
Accessory work for this: face pulls and band pull-aparts (see our posture guide) directly strengthen the retractors that hold your setup together. Three sets of pull-aparts before benching also serves as an excellent warm-up.
Benching Alone: Safety Without a Spotter
Most blokes train alone at least sometimes. The bench press is the one lift where “alone” needs a plan, because a failed rep can trap the bar on your chest or neck. The solutions, in order of preference:
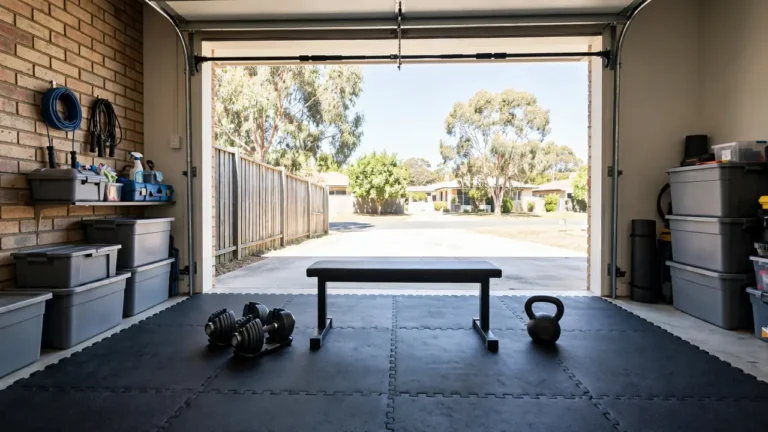
1. Safety arms on a power rack. Set them just below your chest-touch point (test with an empty bar). If you fail, lower the bar to the safeties and slide out. This is the gold standard — bench inside a rack for every heavy set. Our home gym guide covers rack selection.
2. The “roll of shame.” No safeties, moderate weight, failed rep: lower the bar to your chest, roll it down to your hips, sit up. Undignified but effective — for weights up to roughly bodyweight.
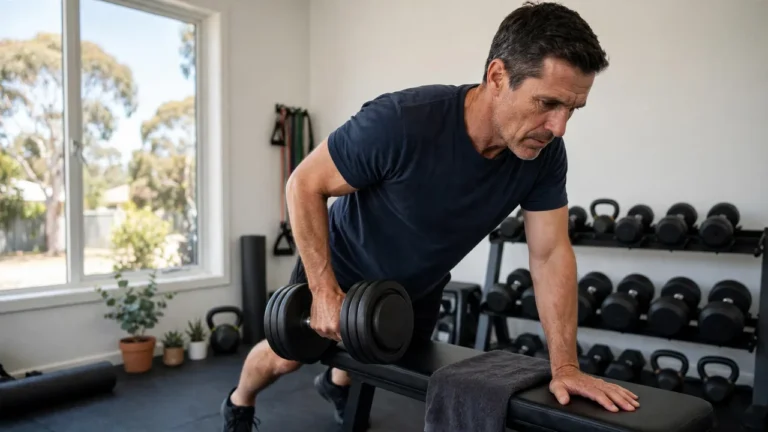
3. Dumbbell bench press. Can’t get trapped under dumbbells — you just drop them to the sides. An excellent alternative for solo trainers, and arguably superior for chest development anyway (greater range of motion, independent arm work). Our dumbbell guide covers what to buy once it is published.
4. Leave reps in reserve. The simplest safety tool: stop 1–2 reps before failure on heavy sets when alone. You don’t need to grind to know you trained hard, and the last ugly rep is where injuries live.
Never: use collars/clips when benching alone without safeties (you can’t dump the plates), use a thumbless grip (bars slip), or attempt a true max without a spotter. These aren’t conservative suggestions — they’re the rules that keep solo lifters alive and uninjured.
Programming the Bench: Sets, Reps, and Progression
For beginners fixing bench press form mistakes: bench 1–2× weekly (like our beginner program), 3–4 sets of 6–10 reps. Add 1.25–2.5kg when all sets hit the top of the range with good form — the double-progression method.
When progress stalls (usually after 3–6 months), add variation rather than just grinding: close-grip bench for triceps (3×8), paused bench for bottom-end strength (3×5 with 2-second pauses), incline dumbbell press for upper chest (3×10), and overhead press for shoulder strength that carries over. Rotate one assistance movement per 4-week block.
Warm up properly: band pull-aparts 2×15, empty bar 2×10, then ramp-up sets (40%×8, 60%×5, 80%×3) before work sets. Cold shoulders and heavy benches are a bad combination — the 5-minute warm-up is non-negotiable, especially for blokes over 35 (see our mobility routine for the bigger picture).
For authoritative guidance on safe resistance training technique, Sports Medicine Australia (sma.org.au) publishes evidence-based injury-prevention resources.
FAQs
Should my elbows be tucked or flared when bench pressing?
Tucked to roughly 45–60 degrees from your torso. Fully flared (90 degrees) puts the shoulder in a vulnerable position and reduces pressing power — flaring is the classic bench press form mistake. Think ‘arrow shape’, not ‘T shape’.
Where should the bar touch my chest?
Lower chest, around the sternum/nipple line — not up near the collarbones. Touching too high is a common cause of shoulder pain. The bar then presses up and slightly back toward the shoulders.
Is it safe to bench press without a spotter?
Yes, with precautions: bench inside a power rack with safety arms, know the roll of shame, use dumbbells as an alternative, and leave 1–2 reps in reserve on heavy sets. Never max out alone.
Why does my shoulder hurt when I bench press?
Usually bench press form mistakes — flared elbows, touching too high on the chest, or lost upper-back tightness. Fix form first (tuck elbows, touch lower, pinch shoulder blades). If pain persists, see a physio — don’t train through shoulder pain.
How often should beginners bench press?
One to two times per week within a full-body program. The chest recovers in 48–72 hours; benching 2× weekly with varied rep ranges is the sweet spot for beginners.